Prayer Mat Edge Fraying: Repair at Home
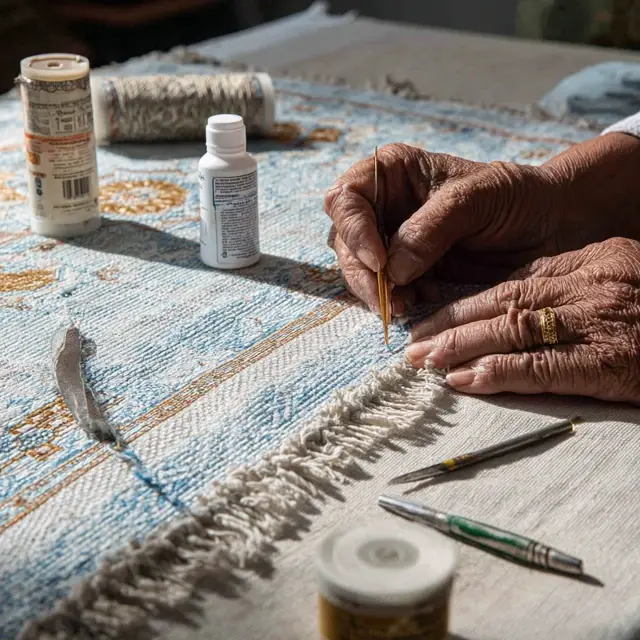
Even a well-cared-for prayer mat can develop frayed edges from foot traffic, vacuum brushes, or years of rolling and unrolling. The good news: you can stabilize and repair those edges at home with simple tools and fabric-safe techniques—no industrial machines required.
Diagnose the Damage
- Surface fray: Loose threads along the binding but core fabric intact.
- Binding failure: Edge tape unravels or lifts from the mat body.
- Corner wear: Rounded corners opening up or curling, often the first point of failure.
- Back exposure: Non-slip or textile backing visible due to missing stitches.
Tools & Materials
- Small scissors or thread snips
- Fabric glue or anti-fray sealant (clear-drying)
- Hand-sewing needles (sizes 5–7) & strong polyester thread
- Bias binding tape (cotton or poly) or twill tape
- Thimble and clips (or pins)
- Optional: sewing machine (zigzag), hemming tape, corner templates
Step 1 — Stabilize the Edge
- Trim flyaways: Snip loose threads—avoid cutting intact warps/wefts.
- Seal the line: Apply a thin bead of fabric glue along the raw edge; press with a scrap cloth. Let cure per label.
- For synthetics only: A very quick pass of a hot knife or lighter can heat-seal filament edges. Test away from the mat first; skip on wool/velvet.
Step 2 — Choose a Repair Method
A) Quick Cosmetic Fix (10–15 minutes)
- After sealing, thread a needle with matching polyester thread.
- Use a whipstitch every 4–6 mm to wrap the edge and secure stray yarns.
- Lock off with a double knot hidden under the binding.
Best for: Light fray on otherwise intact binding.
B) Durable Hand Repair: Blanket Stitch
- Fold 3–4 mm of the edge under (if fabric allows) and clip.
- Sew a blanket stitch: insert needle from back to front, loop thread under needle tip before tightening to form a neat edge bar.
- Spacing 5–7 mm; keep tension even to avoid ripples.
Best for: Medium fray where you need a clean, reinforced edge.
C) Replace the Binding with Bias Tape
- Measure perimeter; cut bias tape with 2–3 cm overlap.
- Sandwich the mat edge inside the tape; clip every 3–4 cm (curves need more clips).
- Hand-sew: Slipstitch the inner fold, then topstitch the outer fold with tiny, even stitches.
Machine option: Zigzag or straight-stitch along the tape edge using a walking foot if available.
Best for: Binding failure or heavy wear along long edges.
D) Corner Reinforcement Patch
- Cut a triangle of twill or bias tape to cover the corner.
- Glue-baste lightly, then ladder stitch around edges for a near-invisible finish.
- Add a few bar-tacks across stress points to prevent future splitting.
Best for: Curled or opened corners and high-traffic zones.
Protect the Backing During Repair
- Non-slip (latex/TPR): Avoid solvent glues; choose fabric-safe, water-based adhesives. Do not iron from the back.
- Foam cores: Keep moisture and heat minimal; press repairs by hand, not with hot tools.
- Textile backings: If machine-stitching, use low pressure and a size 90/14 needle; test on a scrap first.
Finishing Touches
- Thread bury: Pull knots between layers with a needle to hide tails.
- Edge press (cool): For textile backings only, use a pressing cloth and low heat to flatten new binding—never on velvet/foam/non-slip.
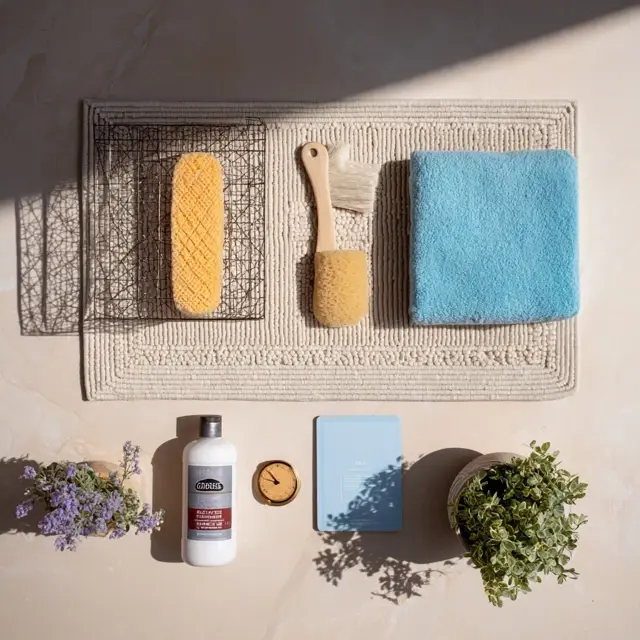
- Pile grooming: Brush gently to blend the repaired edge with the rest of the mat.
Prevent Future Fraying
- Vacuum smart: Use an upholstery brush on low suction; avoid dragging beater bars across the edge.
- Roll, don’t fold: Folding stresses bindings and corners.
- Edge guards: Add a thin line of anti-fray sealant along fresh stitching.
- Rotation: Swap head/foot orientation weekly to distribute wear.
Troubleshooting
- Edge puckers after stitching: Stitches too tight. Snip a few, relax tension, and restitch.
- Tape won’t lie flat over curves: Use bias (not straight) tape; add more clips and shorter stitches.
- Glue leaves a halo: Use less product and press through a scrap cloth; clear-drying formulas reduce residue.
At-a-Glance Repair Matrix
| Issue | Fast Fix | Best Long-Term Fix |
|---|---|---|
| Light surface fray | Seal + whipstitch | Blanket stitch |
| Binding unravel | Seal + spot stitch | Replace with bias tape |
| Corner wear | Seal + bar-tacks | Corner patch + ladder stitch |
| Back exposure | Hand topstitch | Bias binding + reinforcement |
Time & Skill Estimates
- Quick seal + whipstitch: 15–25 minutes (beginner)
- Blanket stitch edge: 30–45 minutes per long side (beginner–intermediate)
- Bias rebinding: 60–90 minutes total (intermediate)
Suggested internal link anchors: “Non-Slip Backing Care,” “Hand-Washing a Prayer Mat: Gentle Method,” “Stop Color Fade on Your Prayer Mat.”


